

This is who we are: Habitate is a SaaS-based platform helping brands build successful communities! We built our product to make the entire process of creating, setting up, and managing community easier with no maximum support from us.
We help you build communities around: customer support, advocacy, product feedback, etc. including the privilege of White label solutions when you step up with your community.
Get ready to create your own dream community the way you want, with exciting features lined up below.
Themes
Theme is your visual representation tool. The goal is to help your community look like your community hence, customizing it based on your brand elements like, color, logo, etc. helps you achieve the brand look and feel.
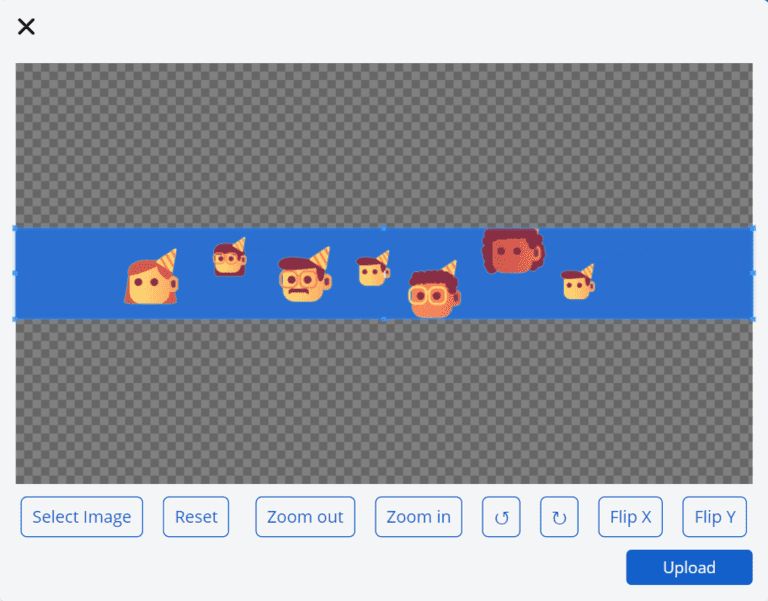
How to set a cover picture?
Step 1: Go to settings click on the Habitate themes feature
Step 2: Click on upload cover picture
Step 3: Click on edit image and upload or if you have a pre-edited image click on upload and upload
Step 4: Use the setting below if you want to resize, zoom in, zoom out, rotate and flip and then click upload
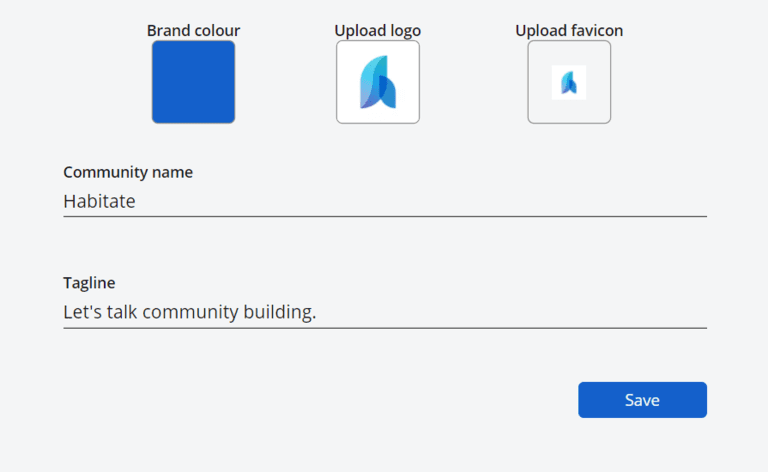
Visual appeal of your community
Step1: Click on brand color and choose your brand color
Step 2: Select logo section and upload your logo
Step 3: Choose favicon and upload the favicon
Step 4: Give a name and a tagline for your community
Step 5: Click on save to save all your changes
Use Case
A. Brand recall: A community that has the look and feel of your brand makes users feel that they are not out of the brand’s environment. It instills trust and helps increase the brand recall factor.
Pro tips
1. Make sure you select your cover image with 9:1 ratio (980 * 120 px)
2. The ideal size of your logo 128*128 px or you can opt for 64*64; size of the favicon should be 32*32 px
3. You can give your brand’s color code to set your community’s color theme
Boards
Boards (formerly called as channels) are your building blocks of community. A community is wholesome when there are boards that allow multiple stakeholders to enable conversations. In the hierarchy, boards tops the chart. Rest all elements fall within the board.
How to create a board?
Step 1: Go to settings and click on boards
Step 2: Select create a new board
Step 3: Name your board based on the purpose of your board and write down board details
Step 4: Select who you would want to post from the ‘Who can post in this channel?’ dialog box
Step 5: Enable or disable moderation with a simple yes or no
Step 6: Choose your privacy setting, private, public, or secret
Step7: Select create board to create a board
Note: For private and secret board, additionally, you will have to add members who are part of your community
How to reorder a board?
Step 1: Click on the channel you want to reorder
Step 2: You will see an arrow up and down icon below, move the channel up or down.
Step 3: Click on save, your channel will be reordered.
Use case
A. Board Description for guidelines: Use the board description section to write your guidelines apart from what the board is meant for.
B. Board description for social and brand page visits - Hyperlink board description to redirect users to your website or social media pages.
C. Private board - Private boards are visible but the conversations are not. Users should join the board to view and participate. Private channels are created usually to converse with inner circle community members, premium users of brands (to give the feel of special access).
D. Secret board - Secret boards are not visible in the community at all. This can be used for internal purposes like, communicating or discussing with fellow employees about your community campaign or use it for internal collaboration.
Note: Both private and secret boards are not in public view and hence, the content or conversation there will not contribute to SEO.
Pro tips
1. Reorder boards - You can reorder boards by selecting reorder and clicking the up and down facing arrow and save it
2. Recommended - Add what the board is meant for in the board description section. It helps any new community member understand what the board is about and who is it for and what members are expected to do

Tags
Tags are content identifiers and classifiers. They help you with segregating related content under one common idea which becomes effective when it comes to search or navigation within your community.
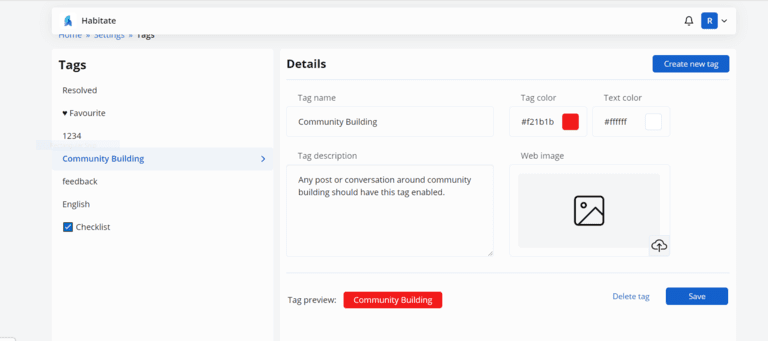
How to create a tag?
Step 1: Go to settings and select Tag
Step 2: Give a tag name of your choice and write a small description of your tagStep 3: Give a tag and font color for it to stand out
Step 4: Add an image along with the tag (Note: This is for SEO purpose only, not for display)
Step 5: Click on create new tag and your new tag will be created
NOTE: Tags are to be added manually to each conversation by the admins only
How to add a tag?1. Step 1: Select the post you want to add your tag to
2. Step 2: Choose the appropriate tag or tags you have created
2. Step 2: Select “Add tag”
Use case
A. One-click away - You will find tags above the post title. Clicking them will enable you to see a batch of content segregated under them.
B. Easier Search - Search conversations with just using tags without having to use exact sentence
C. Use it to map intent - You can also use tags to map intent like, customer concern, resolved conversation, lead, compliment, etc.
D. Tags as a label - You can use tag to label content that are shared by your top users or inner circle members
E. Tags for users - Define user role and use tag as a visual identifier to map users to a particular role
Pro tips
1. Adding an image to your tag will help you in indexing your image to search and helps in boosting SEO
2. Any form of segregation or identification can happen with just adding a tag
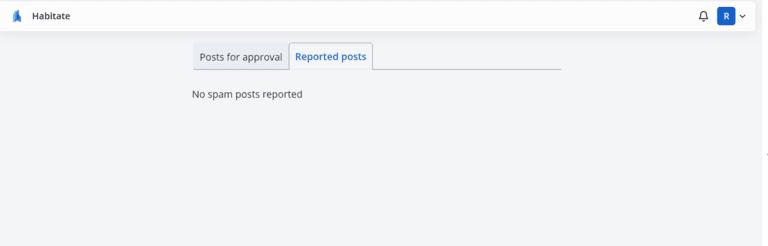
Moderation
Moderation is an indispensable part of any community. Habitate moderation pathway is designed to better organize and control the content that comes into the community. It differentiates spam messages from usual messages that fall in the moderation queue. ‘Post for approval’ queues all conversations that are posted in moderation enabled boards and ‘Reported posts’ section is meant for the reported spam messages.
How to use it?
Step 1: Go to settings, click on the Habitate ‘Moderation’
Step 2: Find your posts that need moderation to be approved or rejected in the post for approval section and find the posts that are reported as spam in the reported post section.

Pro tips
1. Recommended - Any message on the moderation queue can be clicked to see what board it belongs to and the entire post becomes readable. This helps the moderator take the decision to approve or reject.
2. Double check - Hover on the username to check who has posted the conversation to keep away from spammers or spammy usernames
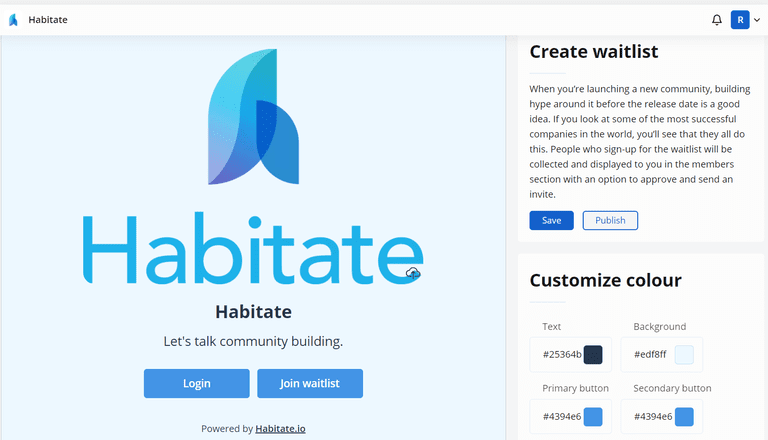
Waitlist page
The concept of waiting creates curiosity among users. By making it a waitlist based community, you are making your users join your community post-approval. You have a filtered approach and also an ability to build curiosity.
How to build the Waitlist Page?
Step 1: Go to setting, click on the Waitlist feature
Step 2: Upload an image above the name and the tagline of your community
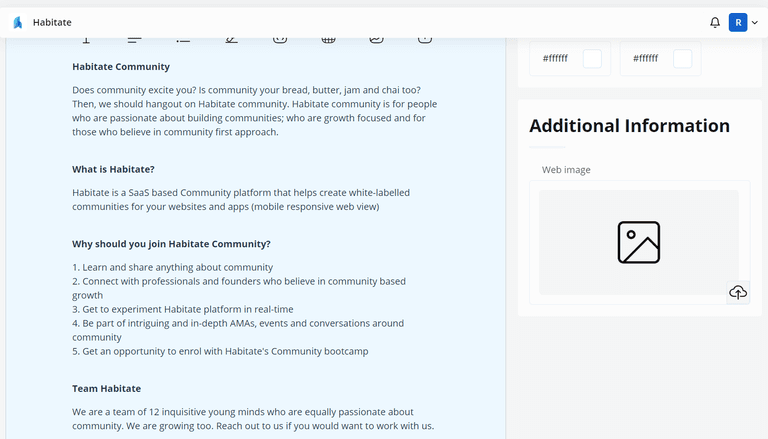
Step 3: Write an attractive piece of content that explains what the community is all about, who this community is for and who is running this community
Step 4: Customize the colors of text, background, primary button, secondary button, primary button text, and secondary button text
Step 5: Add a web image in the additional information by clicking the upload button
Step 6: Once all the necessary changes are complete, click on the publish button in the right top and then save.
Use Case
A. Filter out members: Exclusively for segmented or targeted members. Choose who you want to be a part of your community
B. Landing page: Waitlist acts as a landing page for your visitors who would eventually become part of your community
C. Newsletter: The waitlist page is customizable and editable. So, you can use this as your newsletter where you can build community first instead of building an audience first
Note: You can unpublish the waitlist anytime. This means people can see what is there in your community directly without having to wait
Members Section
Members define your community. At Habitate, the members' section is nothing but a directory of members who are a part of the community.
How do I invite members?
Step 1: Go to Settings and select members section
Step 2: Click on the invite buttonStep2: Drop in the email id you want to invite
Step 3: Click on the invite button and your invite will be sent to their email id
(Note: The user may receive an email in the Spam inbox)
Pro tips
1. You can manage inviting and approving member requests with just a “Member status dropdown”
2. With just a click on the member, you can manage the user's role easily.
SEO
The SEO section in Habitate helps the community strengthen SEO efforts, website visits, etc by allowing you to index your site for SEO purposes.
How to add meta tags?
Step 1: Go to settings, click on SEO
Step 2: Add in meta tags and click add
Step 3: Save your changes and inputs
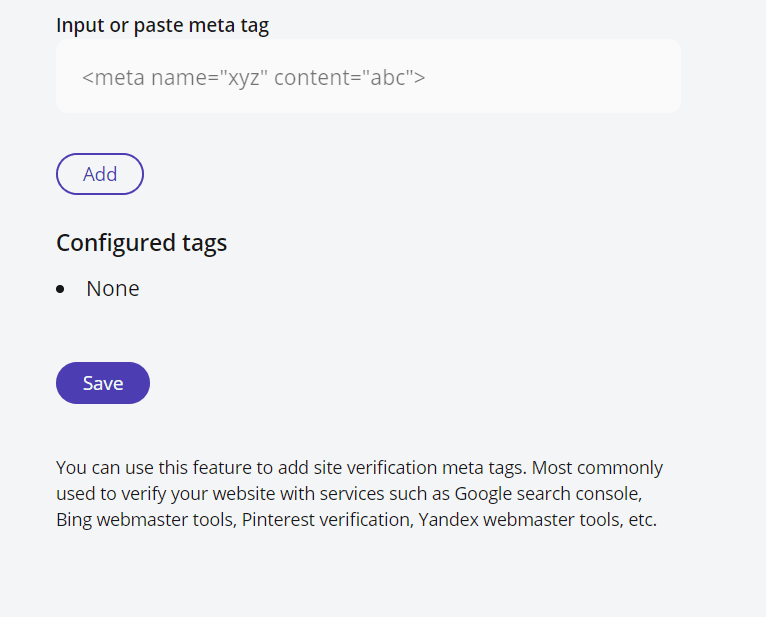
Use Case
You can use this feature to add site verification meta tags. Most commonly used to verify your website with services such as Google search console, Bing webmaster tools, Pinterest verification, Yandex webmaster tools, etc.
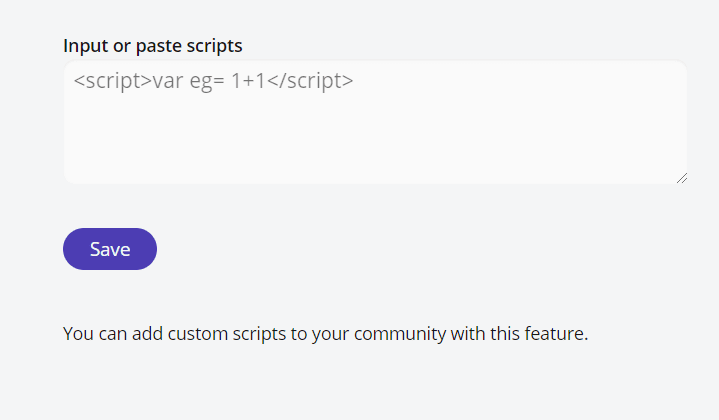
Scripts
Scripts enable you to add codes that will act as a bridge to place a product on top of Habitate.
Use case
For instance, if you want to add a pop up to your community, you know a third party tool that can give you a few pop-up templates to choose from, you can add the code to the scripts section to make it look like part of your community and reduce time and also helps you add customization.
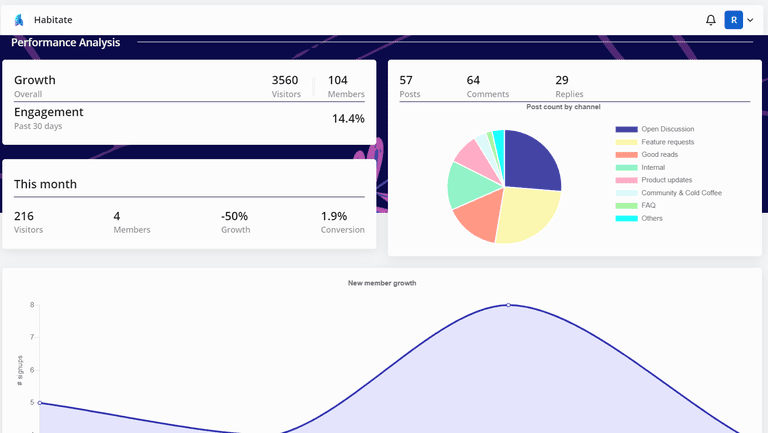
Performance Analytics
What does Habitate Analytics do?
Performance analytics exhibits the levels of growth and contribution of each conversation in the community. Here, the data related to your community’s activities from the number of members, posts and their engagement levels.
This is how you can make the best use of it:
Step 1: Go to settings, click on analytics
Step 2: Have a look at the overall growth, engagement, and that month’s performance. That is, data is broken down into the number of users in a community, number of users who visited your community, number of visitors who got converted to be community members, bifurcation of conversations across different boards, and monthly new users who are joining your community.
Custom Domain
Habitate provides a white-labeled community and it starts with moving from community.habitate.io to community.<brand name> so that your users don’t feel the disconnect. All you have to do is, have a custom domain you want to connect to and share that with Habitate team. Habitate will grant access to have your community with the custom domain you bought.
This is how you can set it upStep 1: Go to settings and click on custom domain
Step 2: Enter your custom domain URL and press proceed
Step 3: Once the next page opens, follow these steps:
a) Login to your DNS provider
b) Find the page to update or edit your domain’s records
c) Add a new record with the details provided in the custom domain page in Habitate
d) Save the new changes and wait for the details to get updated
Step 4: Once all the details are entered click on “I have added the CNAME record” in Habitate’s custom domain setting
Step 5: Wait until your SSL certificate generates
Step 6: Once your SSL certificate is generated, your new custom domain will go live.
Note
If you happen to get an error, do send a mail to support@habitate.io and the issue will be resolved
You cannot reset your custom domain from the prevailing page which has your own custom domain, you have to go to the page which has habitate.io as the subdomain and make necessary changes there.